فرآیند ساخت این زیور، و سادگی اون، خیلی دیدنی بود. این که چنین چیزهایی رو از خمیر مجسمه ایجاد کنی .
یکی از گرایشهای مهمی که من در یانوندیزاین دوست دارم همواره پیگیری کنم و ازش پست بگذارم کارهای دستی و هنرهای خونهگیه. منظور کارهاییه که از سر ذوق و با اندک امکانات ساخته می شن و معمولا هم به مراتب بیشتر از کارهای پرطمطراق نمایشگاهی روان آدم رو تحت تاثیر می گیرن و حرف برای گفتن دارن.

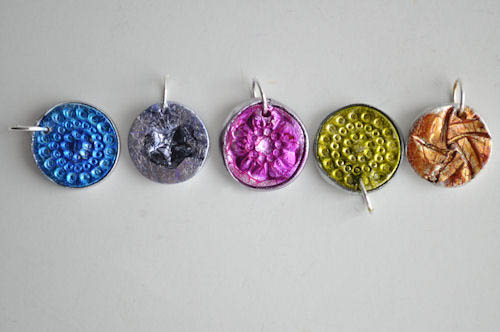
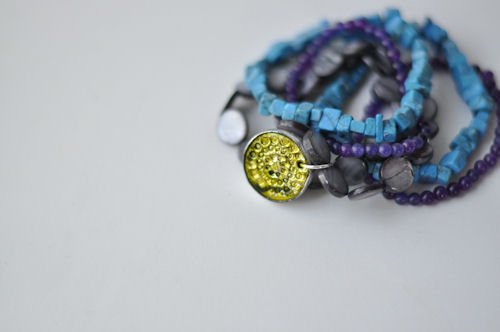
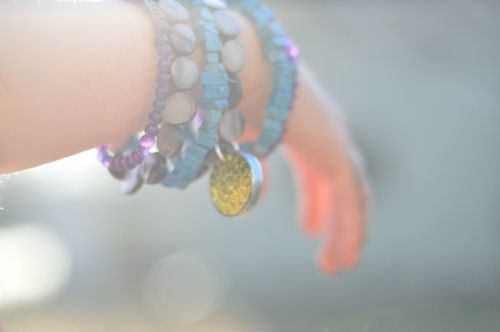
Warmer weather is really on it’s way! That means short sleeves and bare wrists. So I asked Amy of This Heart of Mine to create something gorgeous to adorn our arms while we soak up the sunshine.
The little clay charms she came up with are stunning! I promise, when you see the tutorial, you are going to want to make some. — Gabrielle
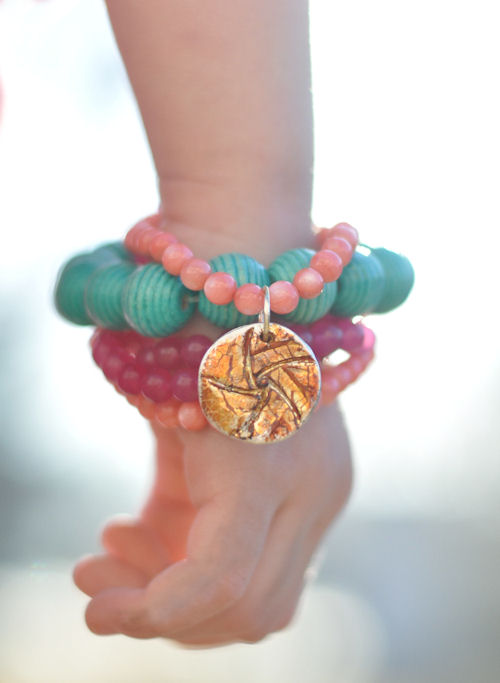
We haven’t had much of a winter this year but I am ever so excited for spring to arrive. Bright green grass, tulips in the garden and days filled with sunshine and warmer breezes.
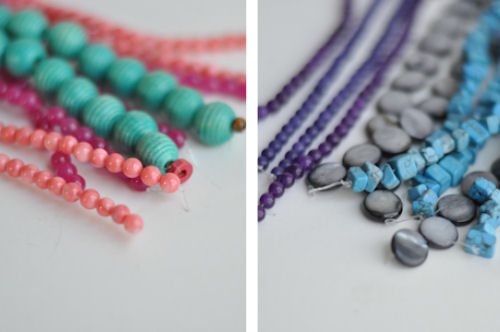
To bring spring faster, if only in my accessories, I picked out beads in bright tones. And, because I like to, I paired different textures together. I think the different textures make for a richer look.
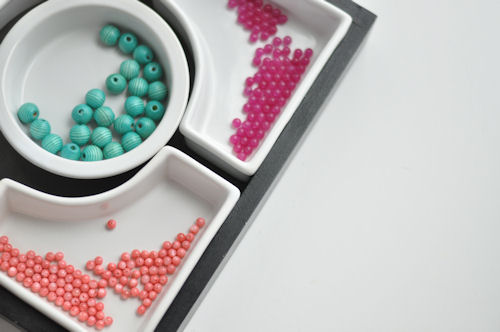
First, I strung the bracelets, using elastic bead cording, and made them to my size.
To keep track of the beads (and out of the hands of my little ones), I used a relish tray to hold them while I worked. It made starting and stopping a lot easier.
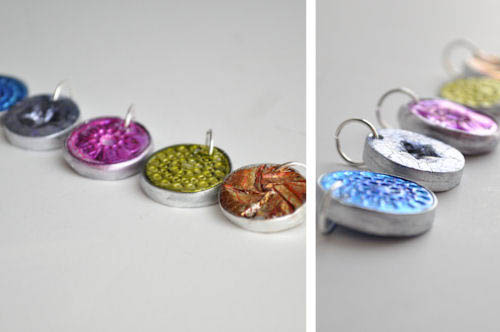
Now for the charms.

If you’ve never worked with it before, polymer clay is an oven bake clay that comes in a variety of colors. It’s fun to work with, it’s very versatile and mistakes are easily remedied. For this project, I used white.
The clay needs to be conditioned before use and to do that, cut the clay into slices and then pass it through a pasta machine on the largest setting repeatedly, folding it on itself after each pass, until the clay is supple. If you don’t have a pasta machine, you can condition it by kneading it with your fingers.
When the clay is conditioned, set the pasta machine to a smaller number (between 2-4) and roll it into a flat sheet.
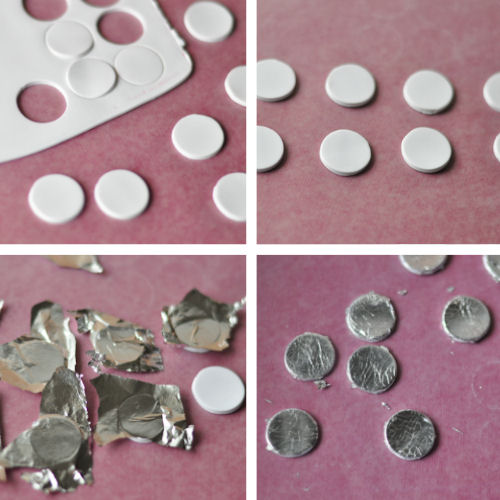
Using a small circle cutter, cut out an even number of circles; a front and back for each charm. Then, to give them a shimmery shine, add silver leaf to each circle, making sure to rub off the excess.
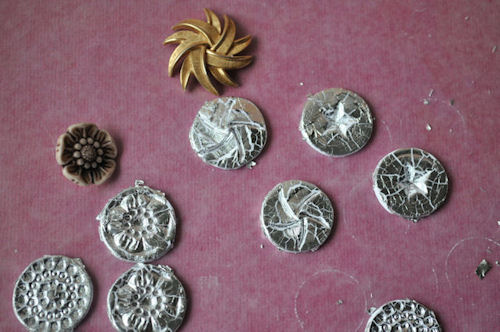
The next step is to give the charms some texture. Anything can be used to give texture; most of my favorites are buttons. Rubber stamps work great, too.
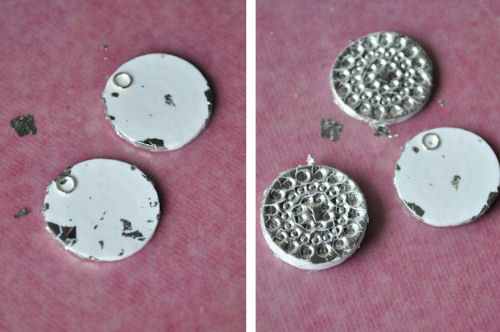
To assemble the charms, place a small jump ring on the back of the bottom-side charm. Press it into the clay. This inner jump ring will provide a strong hole in the polymer clay to loop another jump ring through to connect to the bracelet.
Stack the top-side charm on the bottom-side charm and press firmly to seal and connect the two sides. Press firmly enough to seal, but not hard enough to distort their shape.
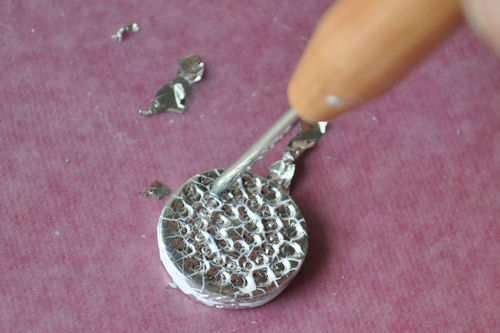
Use an awl to make a hole in the charm through the inner jump ring.
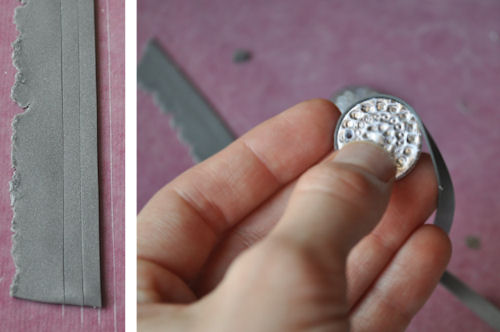
This is not a necessary step but sometimes I like to add a strip of polymer clay, this time silver, around the charm to finish it off.
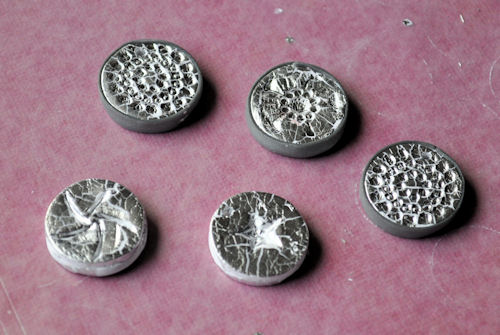
Charms ready for the oven; some with a border, some without. Bake the charms per the clay manufacturer’s instructions.

After the charms are baked and cooled, it’s time to add some color. This is my favorite part!
The alcohol inks can be dropped on the charm directly or rubbed on after adding ink to a piece of felt. If too much is added, use the bit of felt to soak it up. I also used a bit of silver ink on the edges to make them really shine.

Once the charm looks just right, allow to dry. You can speed up the drying process with a heat gun held 6-10 inches away. Seal the charm with a clear coat. I use a clear gloss spray paint.

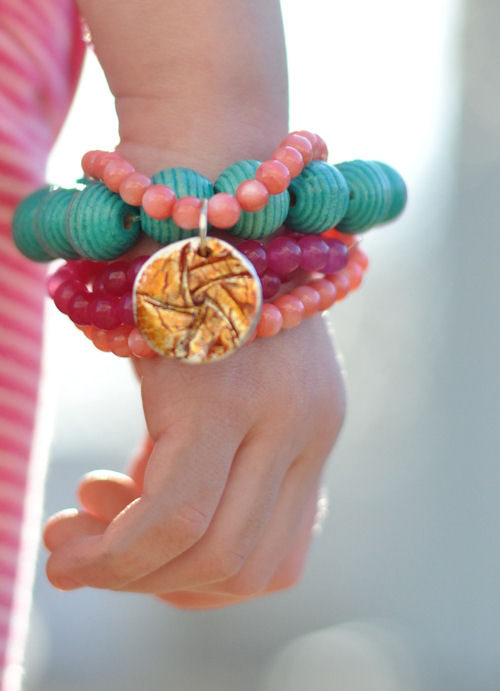
Connect the charm to the bracelet, stack the bracelets on your wrist and say ‘hello!’ to spring.
